The LearnDash Materials Library add-on allows you to showcase course materials anywhere on your site, using a block, for effortless browsing and downloading.
Table of Content
Installation
- Install the LearnDash plugin & activate it.
- Install the LearnDash Materials Library add-on and activate it.
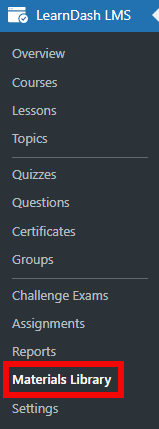
- There will be a new Dashboard entry named “Materials Library” on the backend.

Settings:
Navigate to the WordPress Dashboard and select the “Materials Library” from the Learndash Menu.

Shortcode
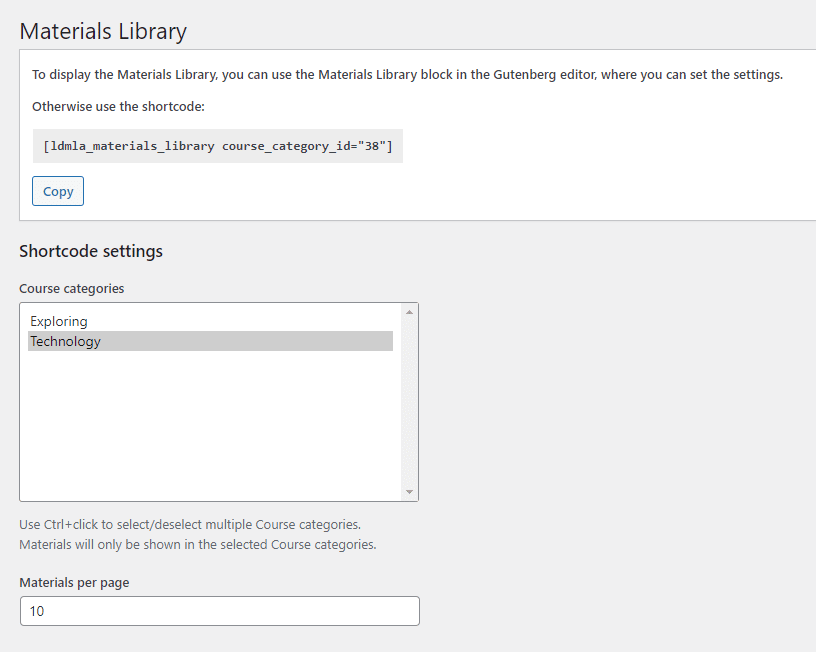
By using the [ldmla_materials_library] shortcode, you can display the Materials Library on the frontend of any page.
Course Categories
By choosing any course category, the Materials will only be shown for that specific Course categories
Materials Per Page
In this field, you can set the total number of materials that will be visible per page.
Block & Widget
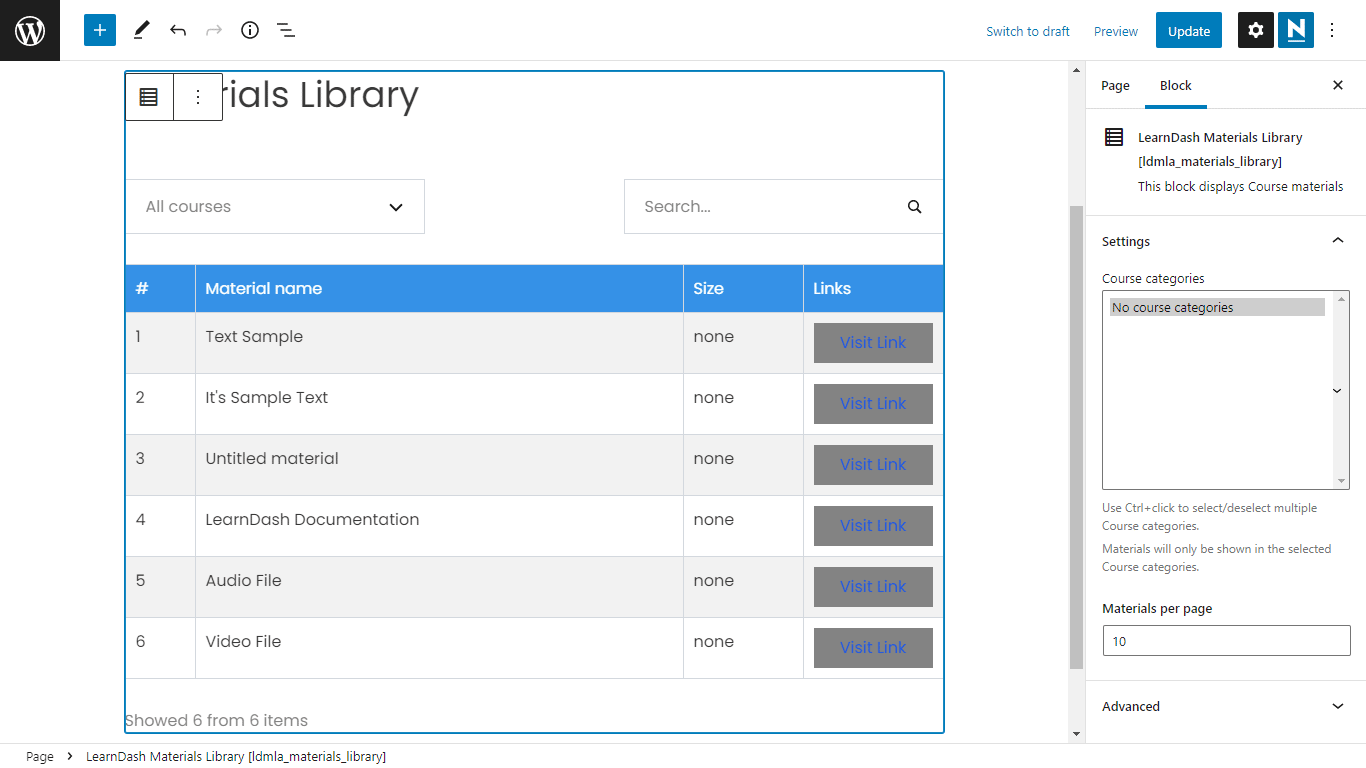
Materials Library also has a Widget and a Block so, Instead of placing the shortcode, you can add the “LearnDash Materials Library” block anywhere on the page/post. Block settings will be displayed on the right sidebar and it will include;
- Course Categories: Select the course category that will be displayed on the Materials Library.
- Materials per Page: Determine how many materials will be listed per page on the “Materials per page” field.

How to display Course Materials
- Navigate to Learndash > Courses > Edit the course for which you like to show the materials.
- Go to the “Settings” tab of the Course.
- Enable the “Course Materials” toggle.
- Upload your pdf by clicking on the “Add Media”.

- If you want to show an external document then add a title i.e. “Documentation” and attach the document link with this title.

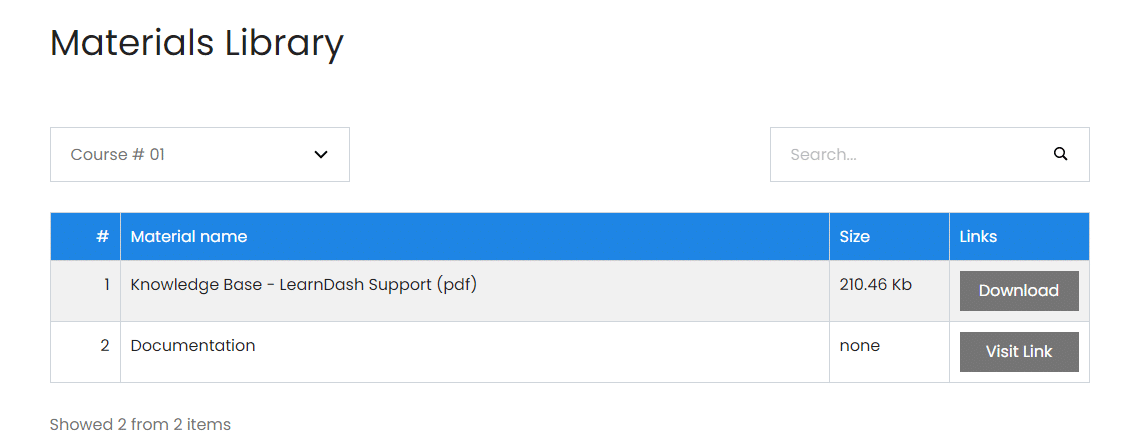
- Update/save the changes and now when you visit the table on the frontend, it will show the material name, uploaded document size, and the download/view link.
