The WooCommerce Variations to Cart add-on provides you the ability to select the multiple variations of a product along with its prices, without leaving the product page.
Table of Content
Installation
- Install the Woocommerce plugin & activate it.
- Install the WooCommerce Variations to Cart add-on and activate it.
- There will be a new “Variations to cart” entry within the Woocommerce menu.

Activate Your License Key
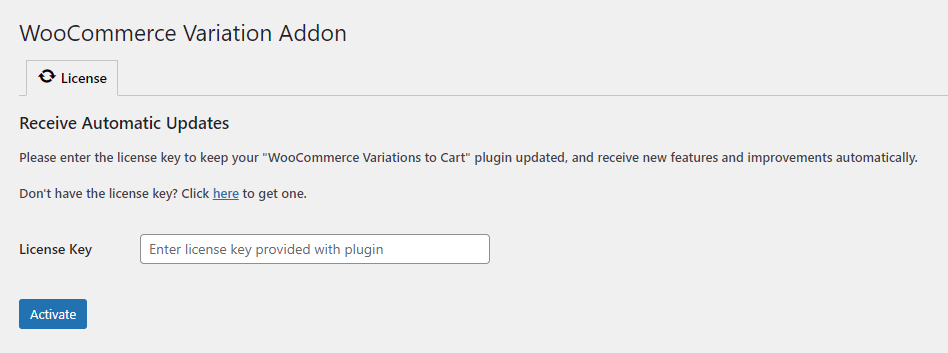
The license key can be configured from the License Settings tab, found on the “Variations to Cart” menu. License keys will be sent to your email address when you purchase the add-on.
Insert your license key in the field and then click on Activate.
Create variable products
Navigate to the WordPress dashboard, select the Products from the menu and click on “Add New”. To create a variable product;
- Set the product title & description.
- From the “Product Data” dropdown, select the Variable product type.
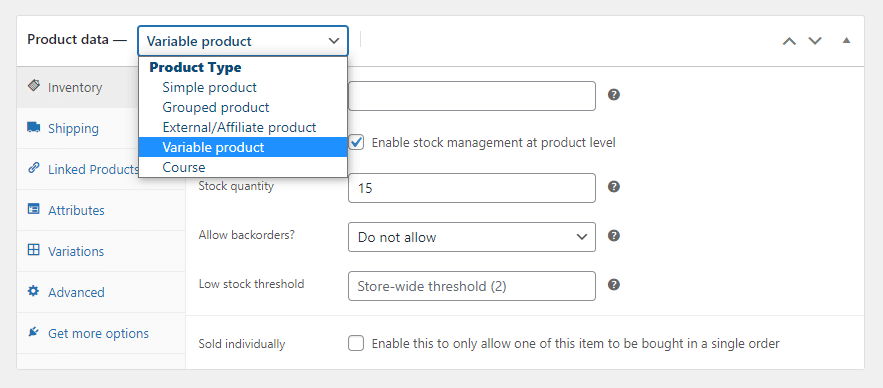
- Next, After setting the Inventory and Shipping, add the product attributes.
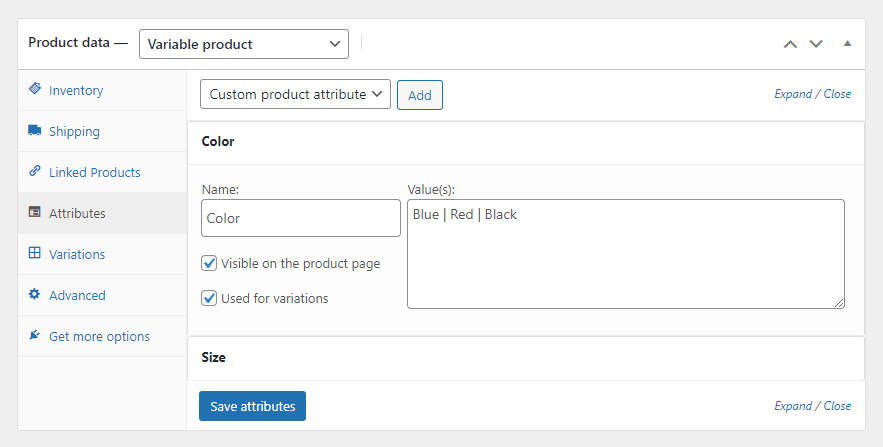
- In the first field, add the attribute name and then add its values.
- Don’t forget to mark enable the checkboxes of “Variable on product pages” and “Used for variations”
- Click on the “Save Attributes” button.
- Next, navigate to the variations, and from the dropdown select “Add variations from all attributes” and click on the “Go” button.
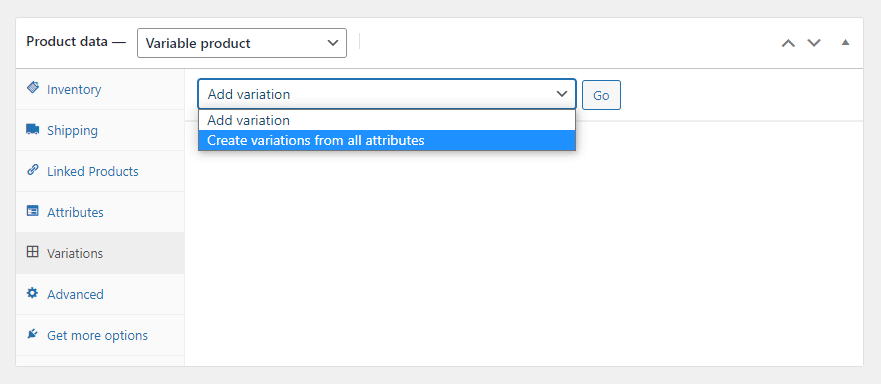
- This will create all possible variations.

- Now click on the individual variations and set its price and other relevant stuff.

- The last step is to set the featured product image and click on the Update.
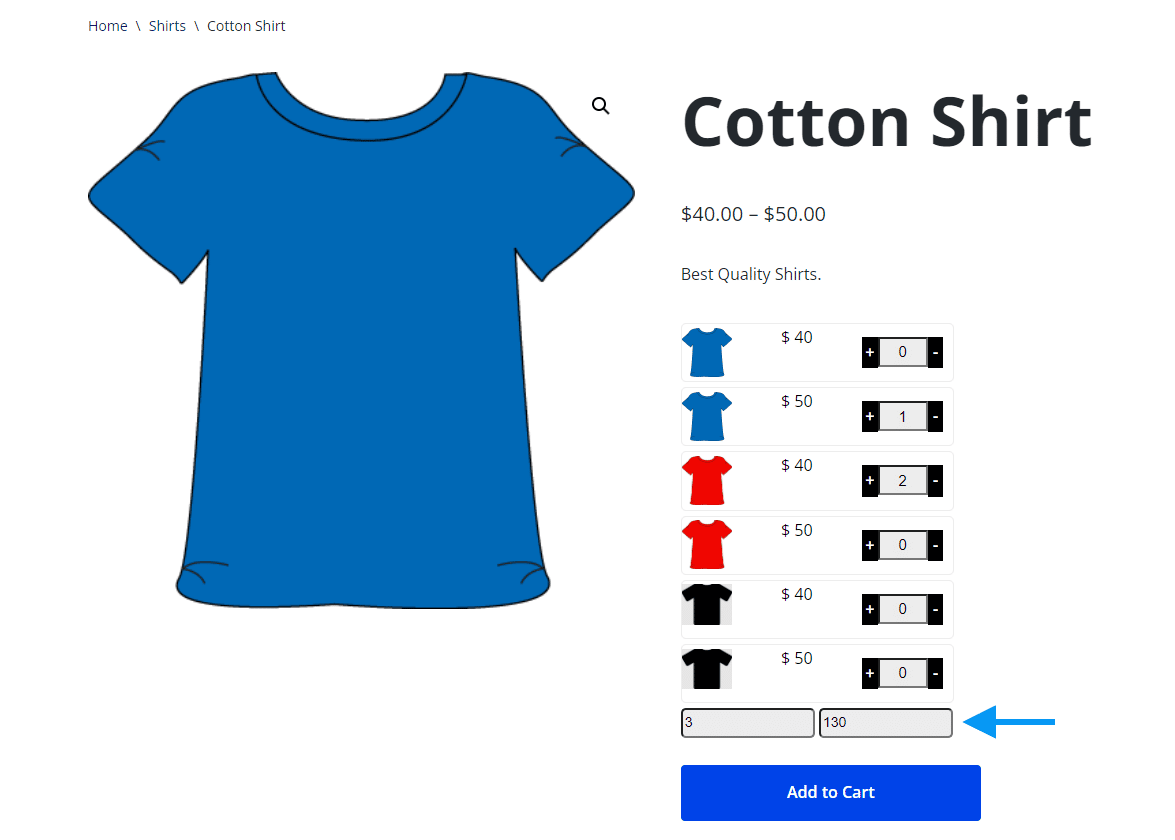
Here is how the product looks on the front end
FAQ
Currently, it doesn’t support the grid view.
You can only add variable items from the product page.
You cannot change variations from the cart.